

September 2, 2026
•
11
min read

Figma to Lovable: How to Import Your Designs and Build an App
Learn how to import Figma designs into Lovable using the official plugin, Figma MCP, or a .fig file, then review, fix, and publish your app.
What Do You Need Before Importing Figma Designs Into Lovable?
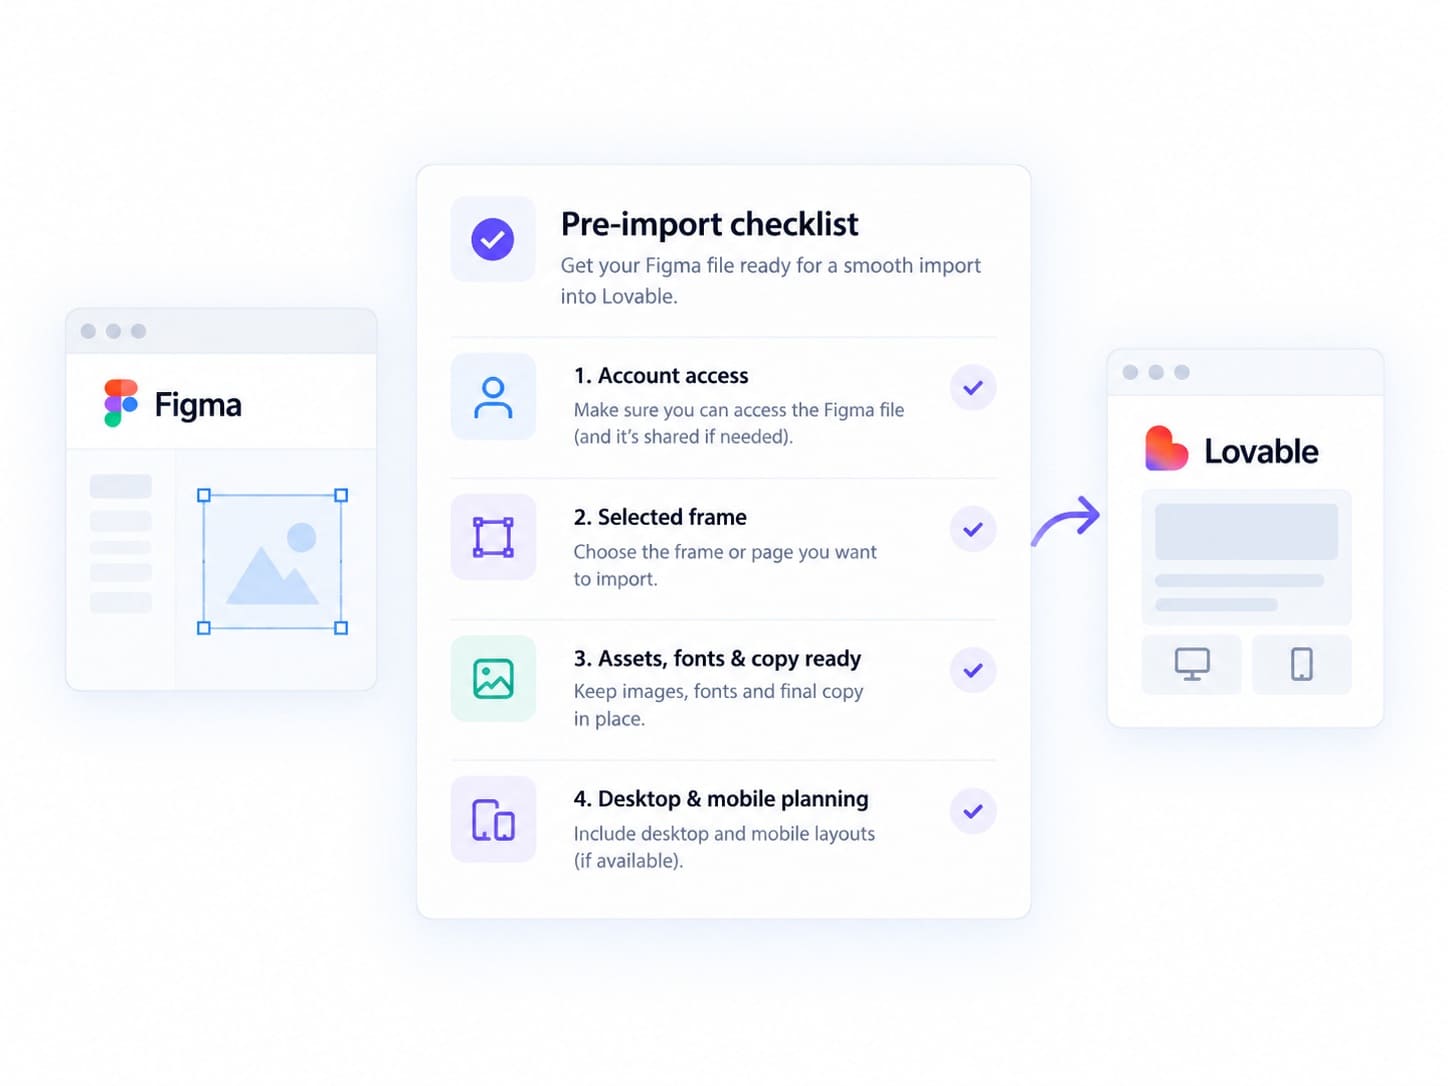
You need a Figma file with the design you want, a Lovable account, and the right access in Figma. A quick checklist before you start:
Accounts and permissions. A Lovable account and a Figma file you can open. Lovable’s documentation notes the plugin works on all Figma plans but requires at least a Dev seat in your Figma organization, so not every free seat qualifies.
A chosen frame. Pick the specific Design frame you want to build. You don’t have to send the whole file.
Assets and typography. Have your real logo, images, fonts, and copy ready. Placeholder text and gray boxes tend to produce placeholder results.
Desktop and mobile expectations. Decide how the screen should behave at each size before you prompt.
Figma Design and Figma Make are different starting points. This guide is about a Figma Design frame, the kind of static layout you draw on a canvas. Figma Make is a separate prompt-to-app tool, and it is not the same input.
Throughout this guide, picture one small screen: a contact page. It has a heading, an image, a form with name, email, and message fields, and a confirmation state after the visitor submits. Treat that as an illustration, not a rule. Suggestions like turning on Auto Layout can help, but they are recommendations, not requirements for the native plugin.
How Do You Import Figma Designs Into Lovable With The Plugin?
The plugin route has five steps: install the plugin, pair your account, export the design, attach it in Lovable, then describe the page and generate. Each step has a visible result, so you always know whether to continue.
Creating a new project and adding a design to an existing one work almost the same way. The only real difference is where you pick the design: from the new-project screen, or from the chat inside a project you already have.
1. Open the Lovable plugin in Figma
In Figma, open any file. In the right panel, select Plugins, search for Lovable, and run the Lovable: Import from Figma plugin. That is the correct one for this workflow. It is not the same as Builder.io’s plugin, which drives a different, older route covered later.
If you only have a Dev seat, open the file in Dev Mode first. Otherwise the plugin panel won’t show up.
2. Pair your Lovable account
In the plugin panel, select Sign in with Lovable. A browser window opens and takes you through login if you aren’t already signed in.
Lovable then asks for a pairing code. Go back to Figma, copy the code shown in the plugin, and enter it in Lovable to confirm the connection. Review and grant the permissions the plugin requests. There’s no separate API key or token to create.
3. Select and export the design
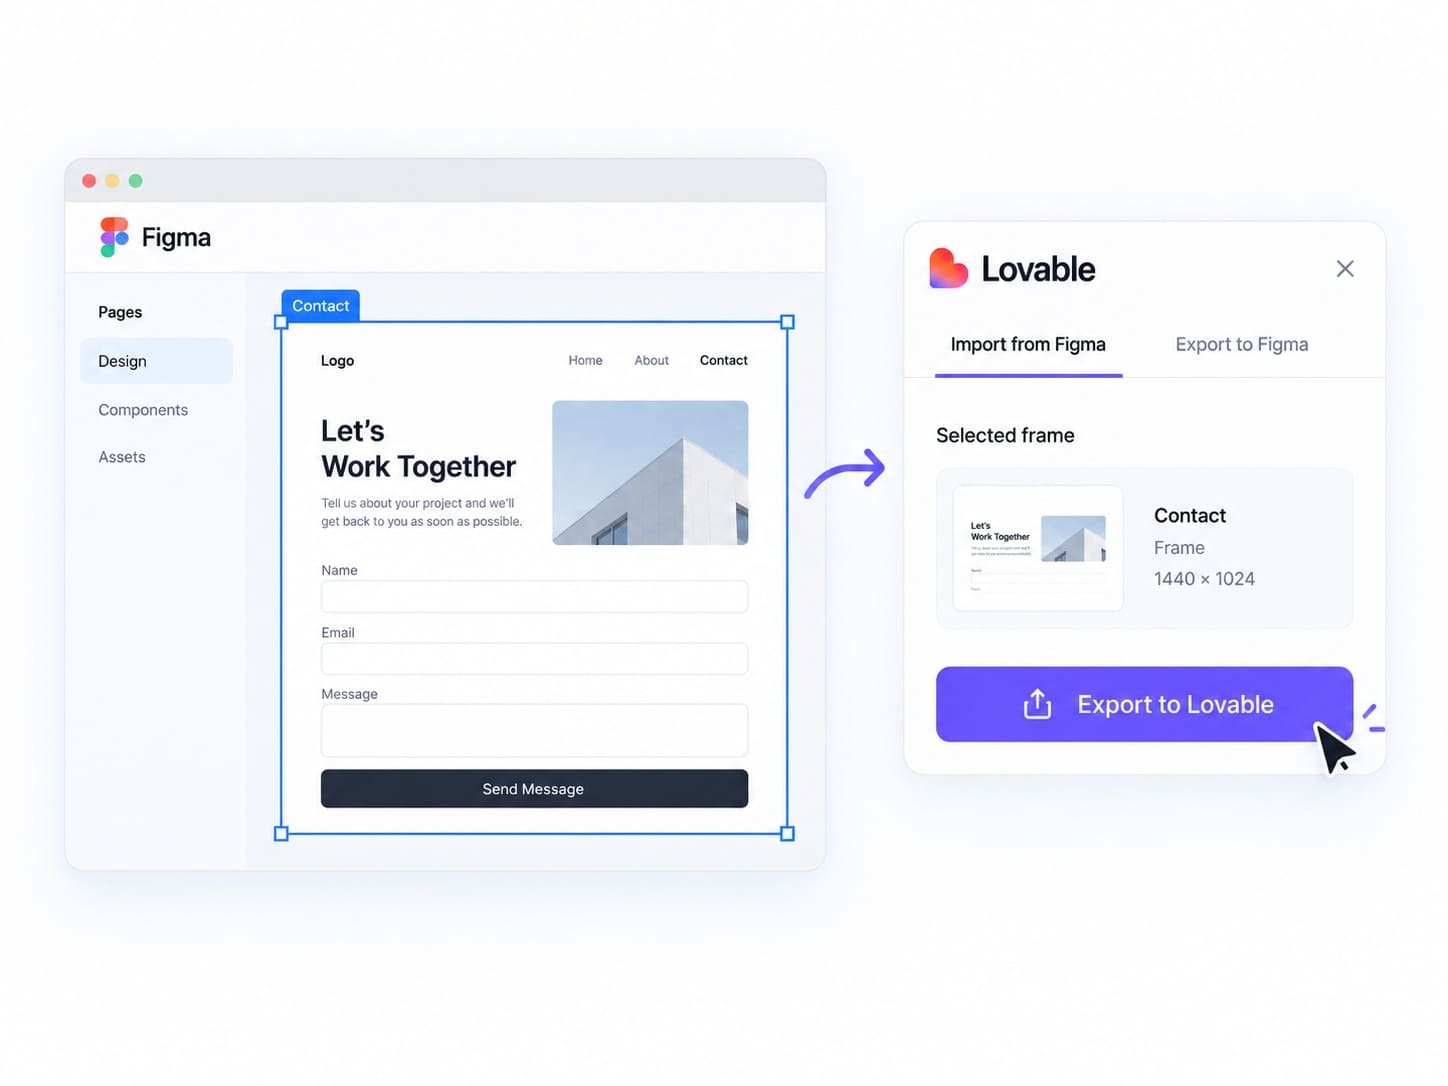
Back in your Figma file, select the contact-page frame and follow the plugin’s prompts to export it. You can rename the export first, which makes it easier to tell your designs apart once they’re in Lovable.
Keep the plugin’s limits in mind. One export can carry up to 100 files, and each file can be up to 20 MB. Those files include code, images, and fonts, so a single busy frame can hold many of them. If a frame is too large to send, simplify it or split it into smaller frames and export again.
4. Attach the design to your Lovable prompt
In Lovable, pick the design you exported from the Figma designs menu. In an existing project, open the chat and select + → Add context → Figma designs. When you’re creating a new project, select + → Figma designs.
The Figma designs option only appears after you’ve exported at least one design, so if you don’t see it, finish the export step first. Your exports belong to your own account, so this list shows only yours, not your whole workspace’s. Exporting and sending a build request are two separate actions. Attaching the design does not build anything on its own.
5. Describe the page and generate the first version
Now tell Lovable what to build. A clear prompt names the assets, pins the exact copy, states the mobile layout, and separates the interface from the behavior you’ll add next.
Here’s a suggested prompt for the contact page:
“Build the attached contact-page design. Use the provided logo and images, preserve the copy, and explain any missing assets before substituting them. On mobile, stack the form below the introduction. First create the interface; then list the behavior still needed.”
Adapt this prompt to your own page and assets. For more on shaping requests that land closer on the first try, see our guide to prompting in Lovable. When the first preview loads, treat it as a checkpoint to review, not a finished product. Look at it, then decide what to correct.
When Should You Use Figma MCP Or Upload a .fig File Instead?
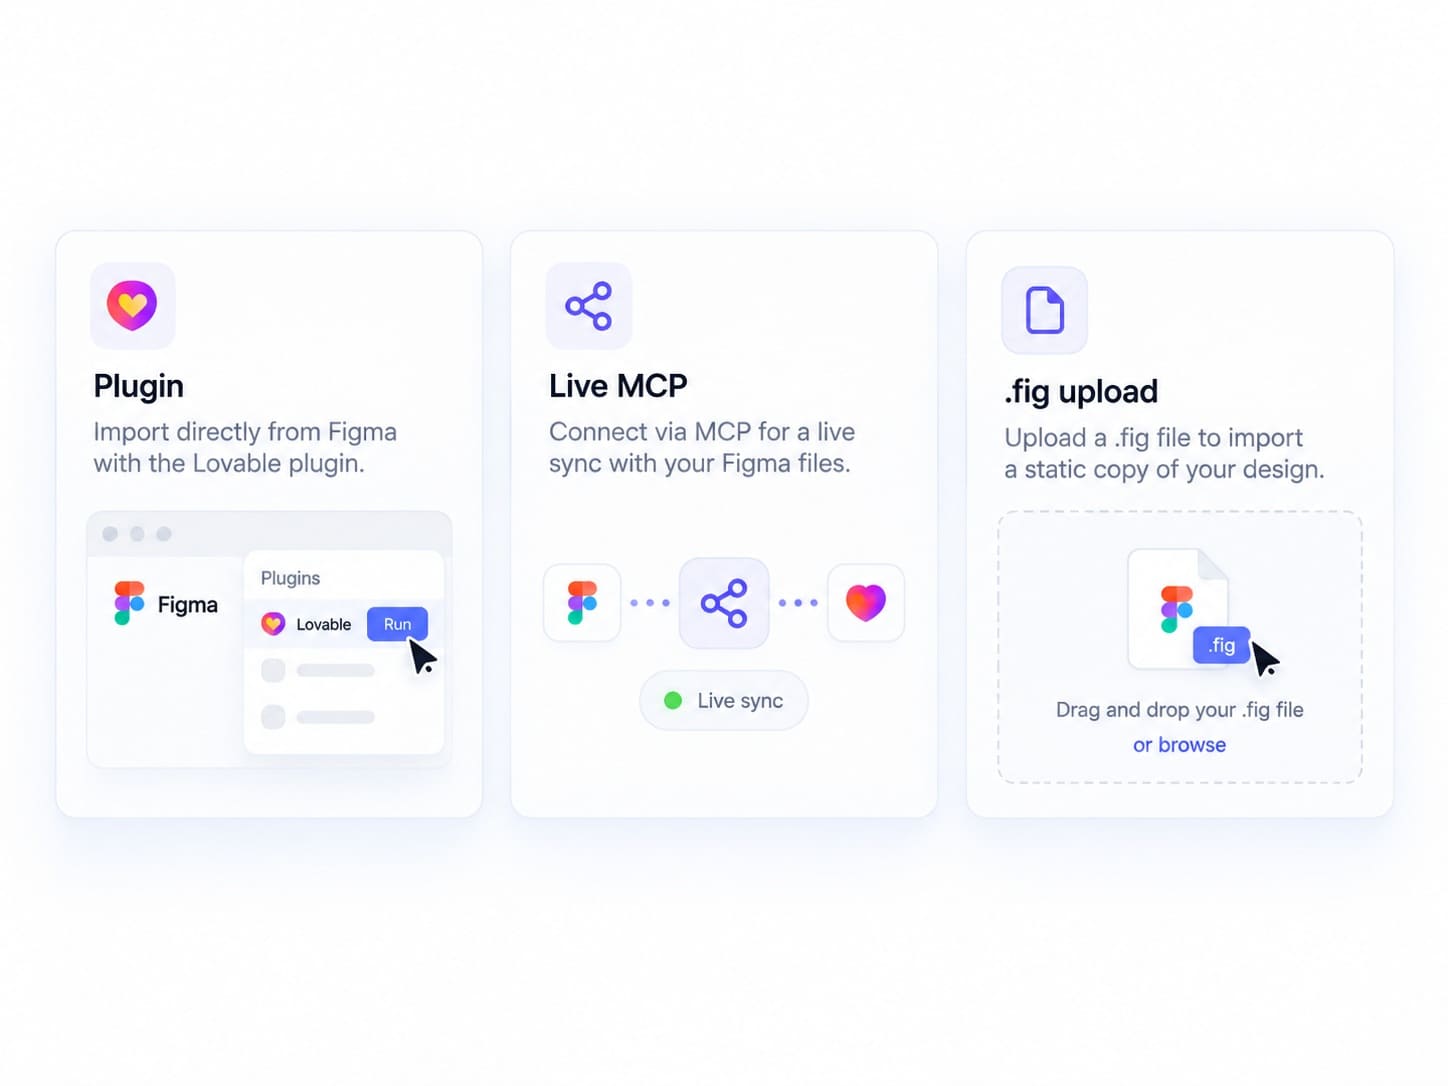
Use the plugin for most imports. Reach for the desktop MCP when you want Lovable to read your live design as you iterate, and use a .fig upload when you mainly want to hand over styles and structure.
Use Figma MCP for live desktop design context
The MCP route connects the Lovable agent to your Figma Desktop app through a local server. Open a Figma Design file, enter Dev Mode, and enable the desktop MCP server. In the Lovable desktop app, open Connectors → Local MCP servers, enable Figma, and approve the connection.
This gives Lovable live access to the file you have open. That is not the same as automatic two-way synchronization between your published code and your Figma file. On Enterprise Lovable workspaces, an admin may need to turn local MCP servers on first.
Upload a .fig file for styles and structure
Save a local copy from Figma with File → Save local copy, then drag the .fig file into the Lovable prompt or attach it. Lovable reads your variable collections, colors, typography, and frame structure, and generates a layout thumbnail for reference.
What this method won’t do is recreate your interactive designs or components. It hands over styling context, not the built screen. It works best when your file uses local variables. If you need Lovable to build from the actual layout, use the plugin or the MCP instead.
Some older tutorials route Figma through Builder.io before Lovable. The native plugin and .fig attachment are recent additions, which is why 2025 guides describe that different path. The Builder.io route is a separate, older alternative, and you don’t need it for the native plugin workflow covered here.
How Do You Fix Common Figma-To-Lovable Import Problems?
Start by naming the type of failure before you ask for changes. Check access, export size, assets, and layout, since each points to a different fix.
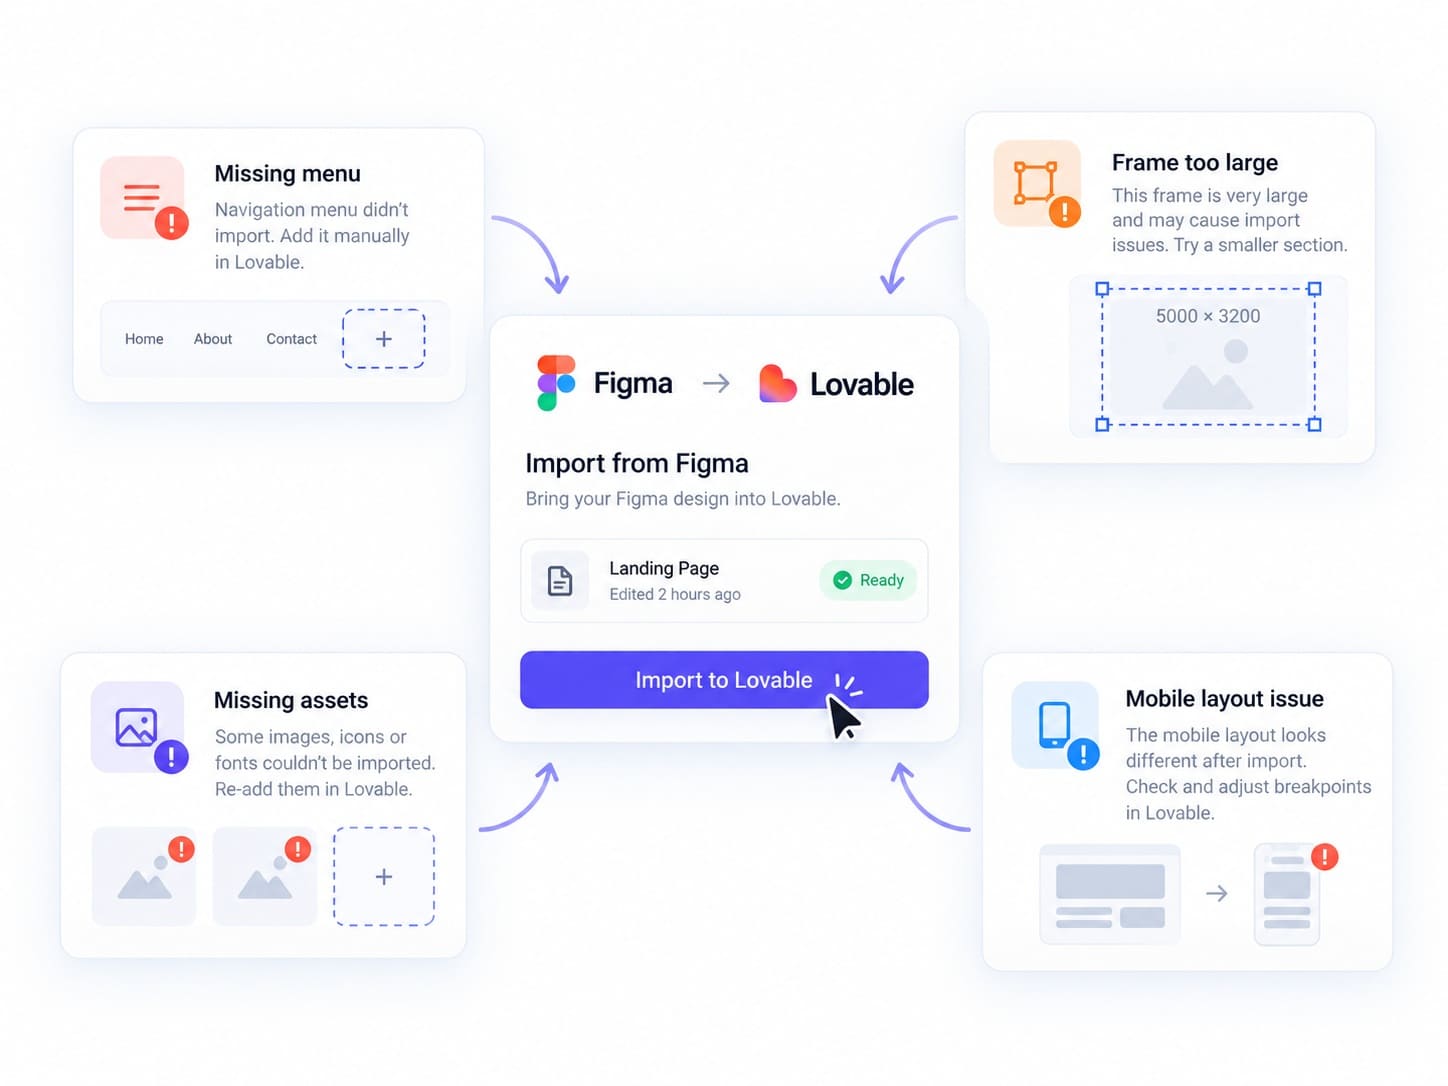
The menu visibility, the export limits, and the MCP restart are documented behaviors. The asset and layout fixes are general diagnostic steps, so adjust them to what you actually see. When more than one cause is possible, change one thing at a time.
Here’s a suggested correction prompt for the contact page:
“On mobile, the submit button overflows its container. Fix that layout without changing the desktop spacing, field labels, or button text. Verify the mobile form after the change.”
That prompt names the problem and protects the parts that already work. Small, specific corrections beat broad “make it better” requests.
What Should You Test Before Publishing Your Lovable App?
Visual review and functional checks answer different questions. One asks whether the page looks right; the other asks whether it actually works. Run both.
A practical checklist:
Supplied assets show up correctly, including your logo and images.
Text matches your copy, with no leftover placeholder wording.
Spacing and layout hold on both desktop and mobile.
Keyboard access works, and form fields have clear labels.
Interactive states behave the way you specified.
For the contact page, that means testing more than the drawn form. Check that validation catches a bad email, that a real submission goes through, and that the confirmation state appears afterward. A form that looks complete is not the same as one that handles data.
Lovable’s preview lets you view desktop, tablet, and mobile sizes, open a larger preview, and walk through user flows, so use it to review after import rather than stopping at the first screen. Automated browser checks help, but Lovable documents limits for subtle visual differences and some complex interactions. Keep doing a manual visual pass, and don’t read an automated pass as proof of pixel-level accuracy. For the contact form, confirm the success message appears only after a valid submission, not before. If your app will collect real user data, it’s worth reviewing what safe AI app creation looks like in Lovable before you publish.
Frequently asked questions
Does importing a Figma design use Lovable credits?
Exporting from the plugin and uploading a .fig file are free. Credits come into play when you send a prompt that includes the design, the same as any other build request. So the export itself costs nothing; generating and changing the app is what draws credits. How many credits a project uses depends on how much you build and revise, so there’s no single fixed cost.
Can you move a Figma Make project into Lovable?
Figma Make and Figma Design are different starting points. Lovable’s documentation covers importing Figma Design frames, but it doesn’t confirm a direct way to migrate a Figma Make project into Lovable. If you’re starting from a Make project, check the current Lovable and Figma docs for the latest guidance before committing to a specific path.
Does Figma to Lovable generate React code?
Lovable builds React-based apps. Newer projects default to TanStack Start, a React framework that renders pages on the server, while older projects used a React plus Vite stack. If you need framework-specific instructions, check what your project runs first by asking Lovable, “What stack is this project on?” Don’t assume every project uses the older setup, and don’t expect a fixed export format beyond the app Lovable builds. When you’re ready to take that code elsewhere, our step-by-step guide to exporting a Lovable project covers your options.
Will later Figma changes automatically update your Lovable app?
Not on their own. The desktop MCP lets Lovable read your current design context while it’s connected, which is useful for iterating. That live reading is different from automatic two-way sync that pushes Figma edits into your published app. If you change the design later, plan to re-import or re-prompt rather than expecting the app to update by itself.
What Is The Best Next Step For Your Figma Design?
Start small. Import one representative screen, like the contact page, review it against the checklist above, then expand to the next page or flow once you’re happy. Building screen by screen keeps problems easy to spot and fix. For a full walkthrough of taking a Lovable project all the way to launch, see our step-by-step Lovable build tutorial.
Want a hand with the build? RapidDev is a Lovable Select Partner and can take your design from Figma import to a reviewed, shippable app. Book a free discovery session, and we’ll tell you what your project actually takes to build.